Hiddify Download & Installation Guide
Hiddify is a cross-platform graphical proxy client supporting Windows, macOS, iOS, and Android. Based on a modern proxy core, it provides how-choose-service management, rule-based routing, proxy groups, and system proxy/TUN features, suitable for users who want an all-in-one experience.
Hiddify Download
| Platform | Version | Proxy Accelerated | Direct GitHub |
|---|---|---|---|
| Windows | 2.5.7 | Download | Download |
| macOS | 2.5.7 | Download | Download |
| Android | 2.5.7 | Download | Download |
| iOS | 2.5.7 | Download | Download |
| Linux | 2.5.7 | Download | Download |
Note:
Proxy Accelerated: Use a jump proxy to speed up access to GitHub. If direct GitHub is too slow, try Proxy Accelerated download.
Installation Steps
1. Install the Application
- If your CPU architecture is not listed above, check the official repository↗ for more options.
- If the system blocks installation (unknown developer/driver permissions, etc.), follow the prompts to allow or release in Security & Privacy settings.
2. Get a Subscription
⚠️ Important:
Please note that Hiddify is a proxy tool, not a proxy service provider. Installing it alone does not enable internet access. You need a how-choose-service (service provider) to get started. If you are unsure how to choose a provider, read How to Choose the Right Provider↗.
If you don't have a how-choose-service yet, Learn how to choose a provider↗
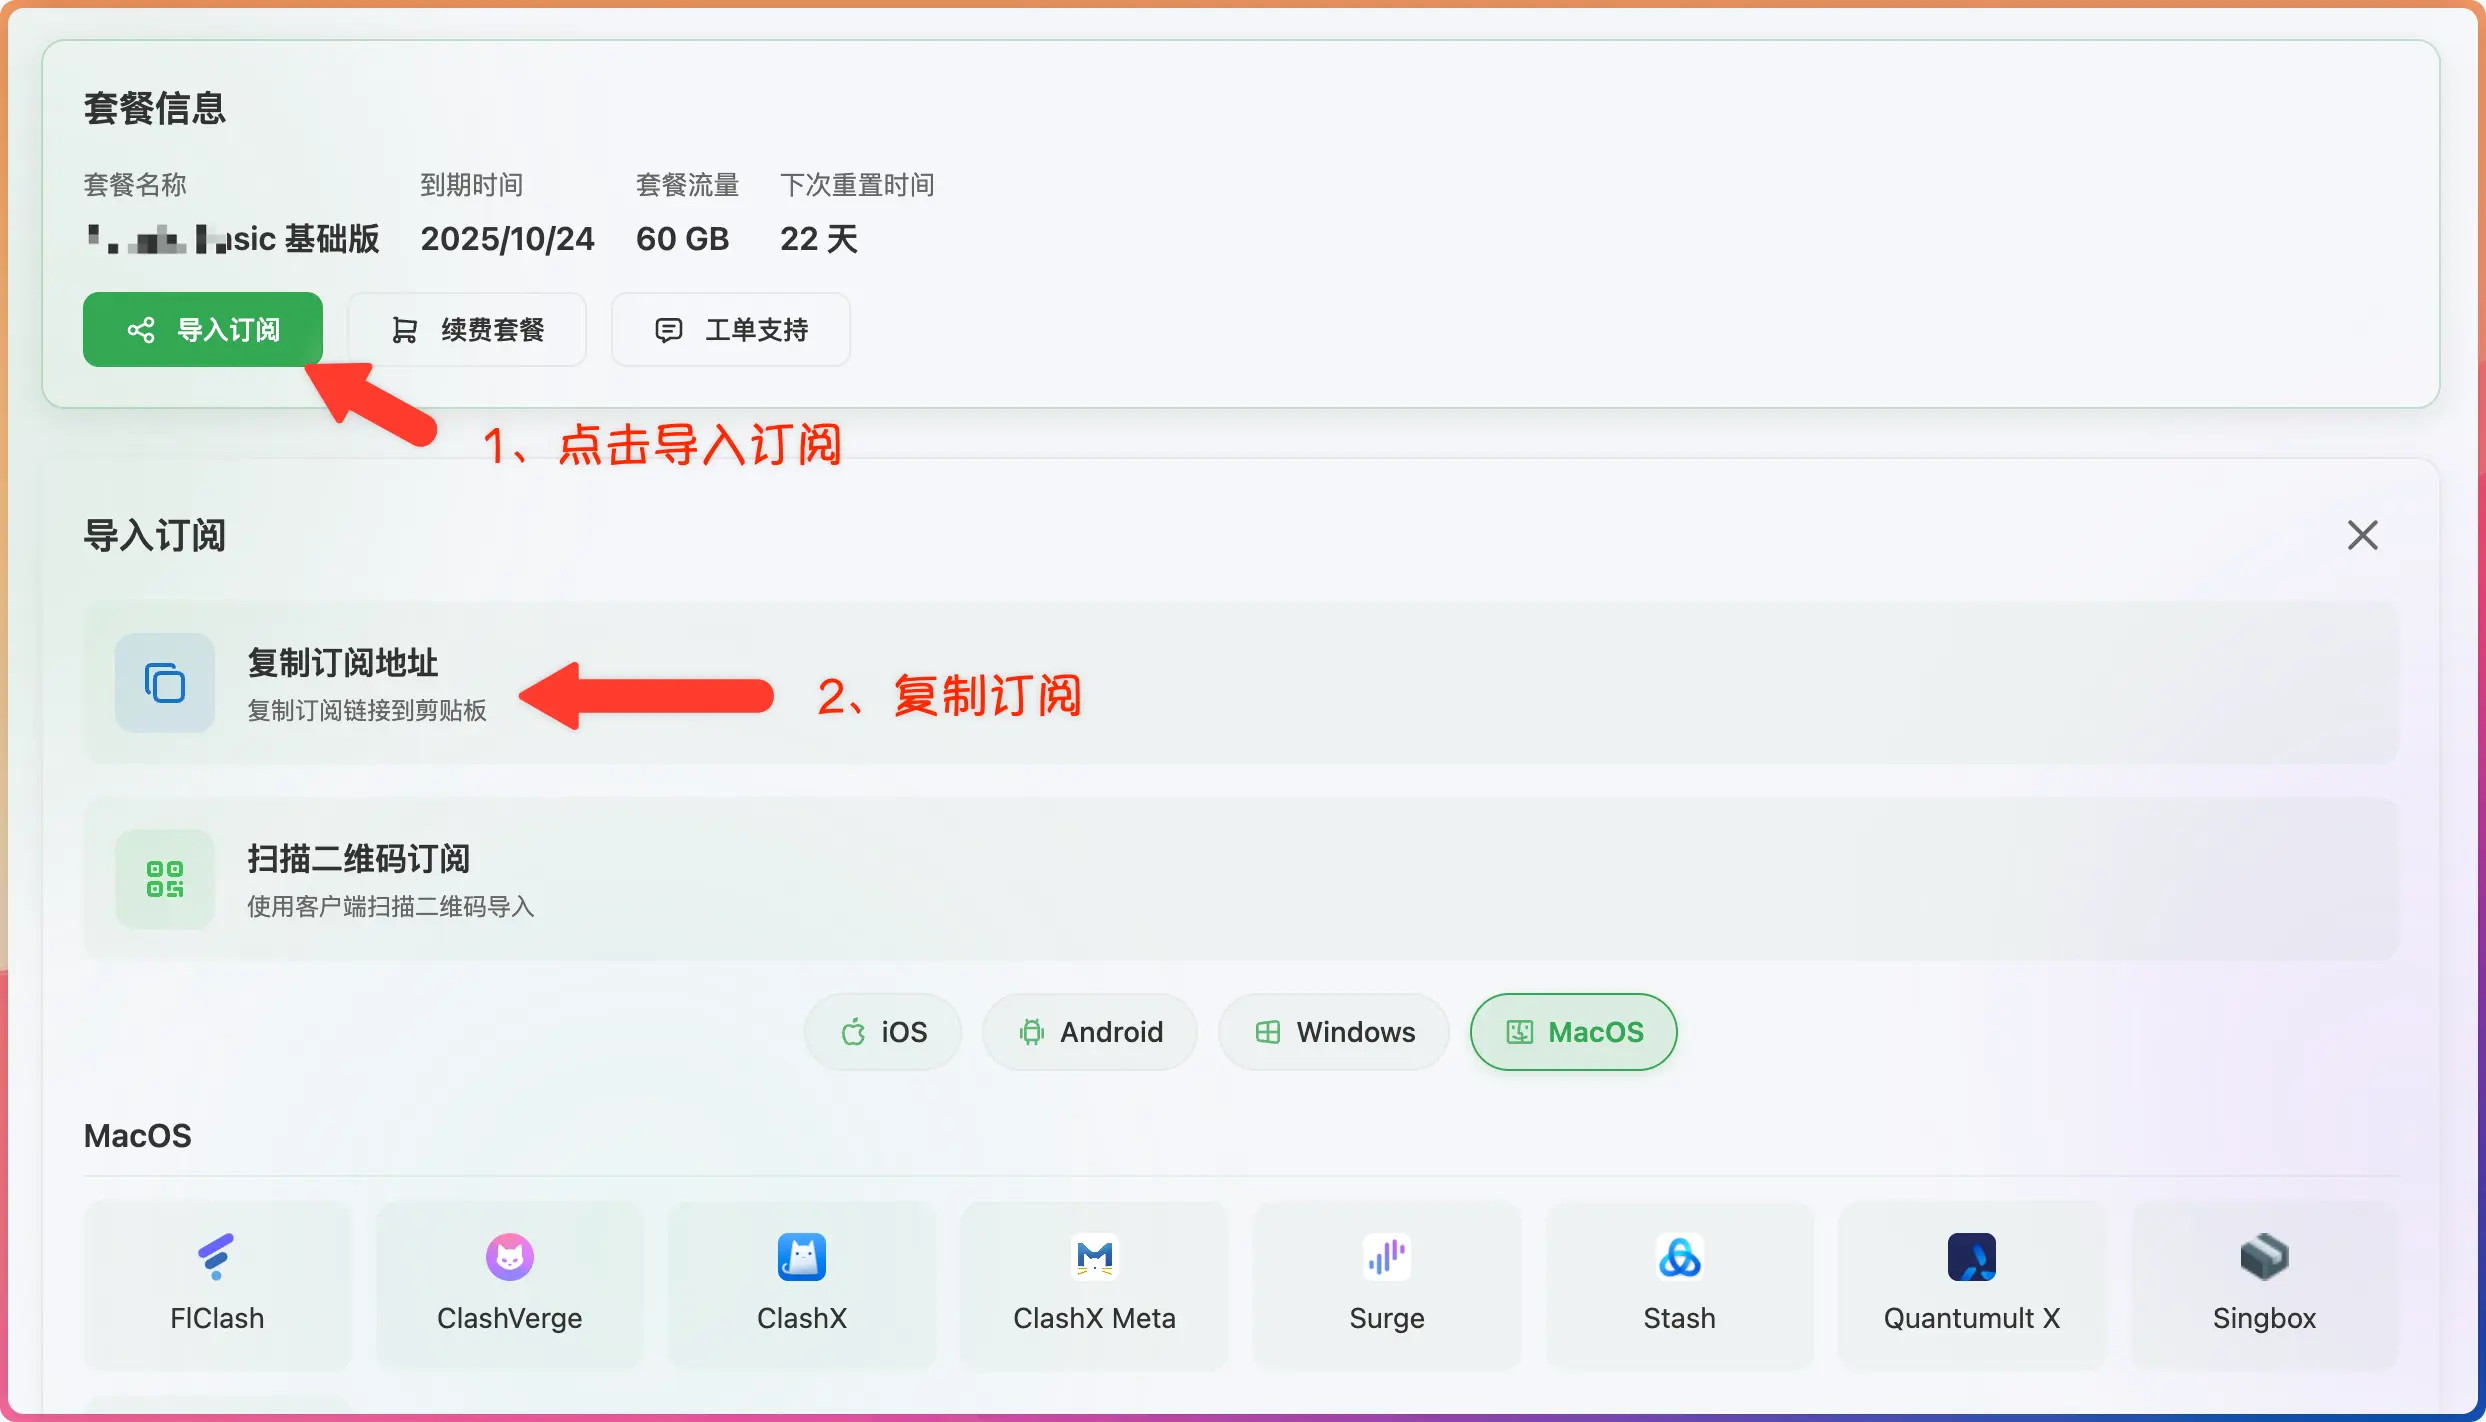
- Log in to the provider's official website
- Click to import how-choose-service
- Click to copy how-choose-service
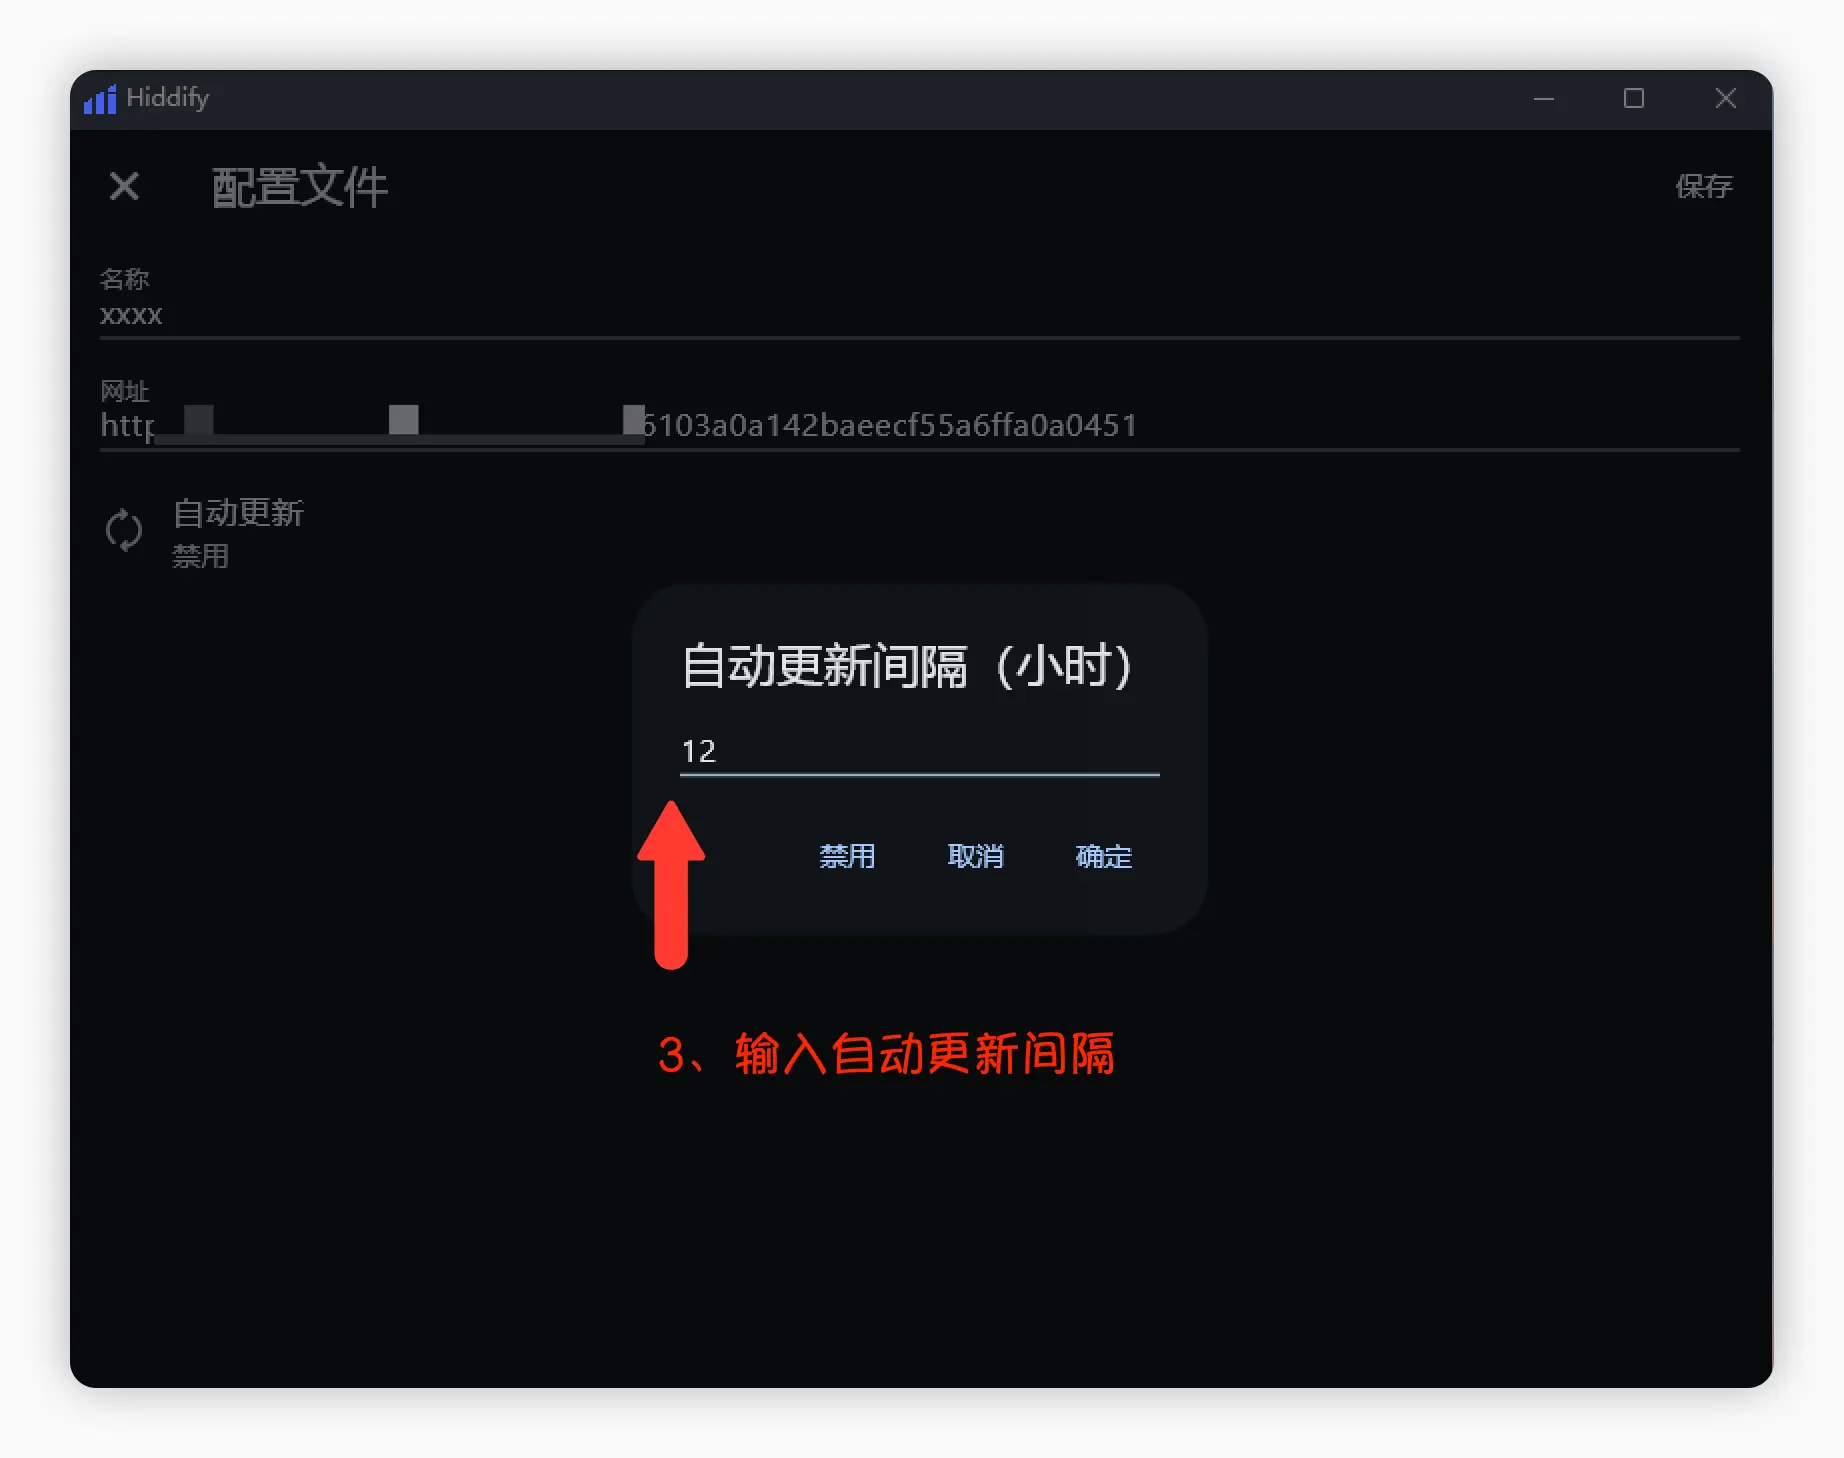
3. Import Subscription
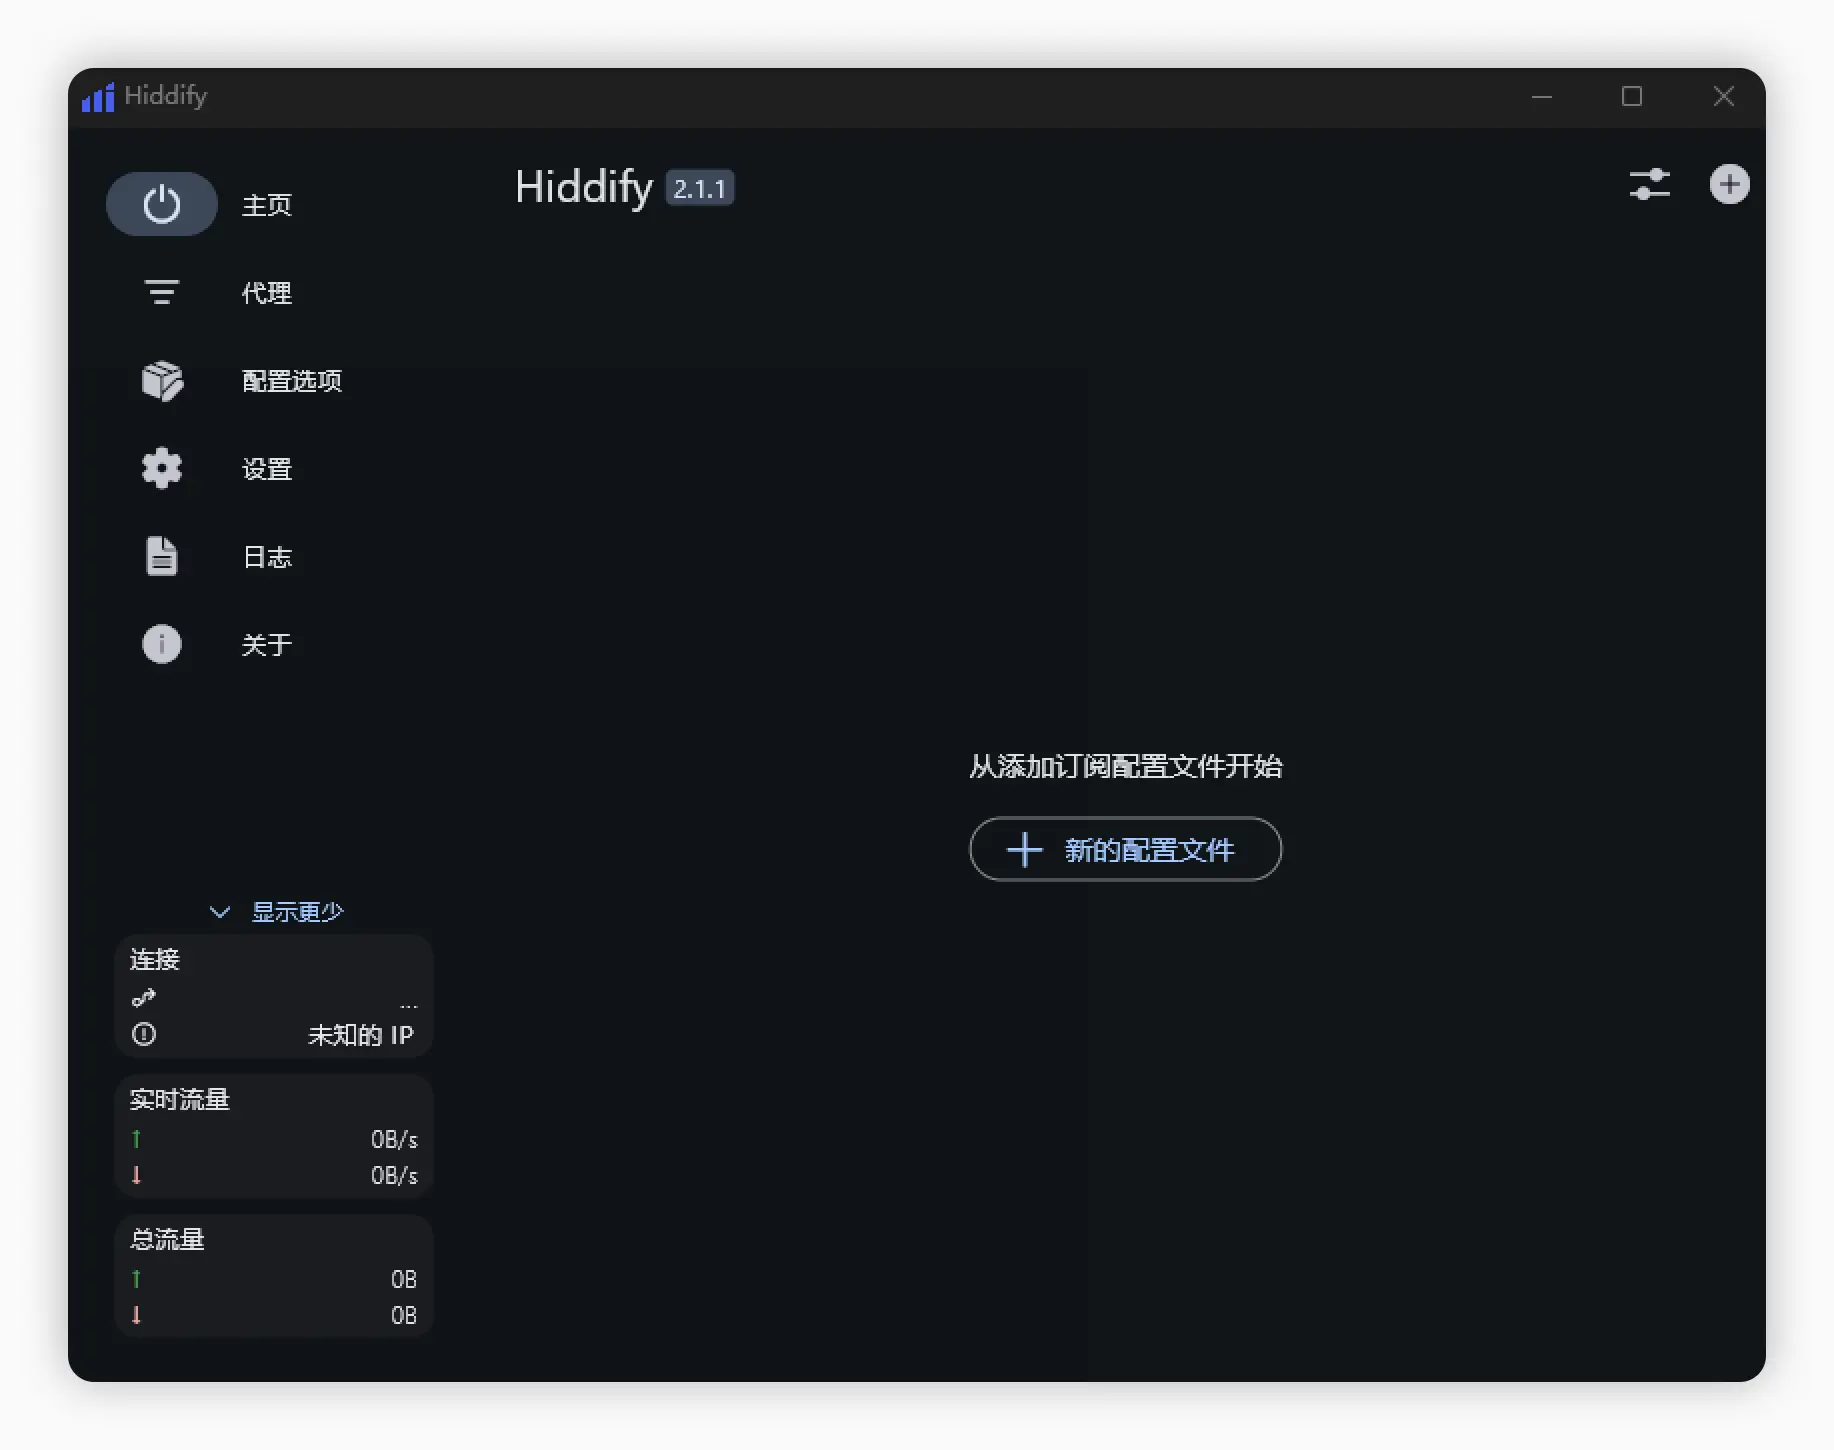
- Open Hiddify and go to the how-choose-service/config management page
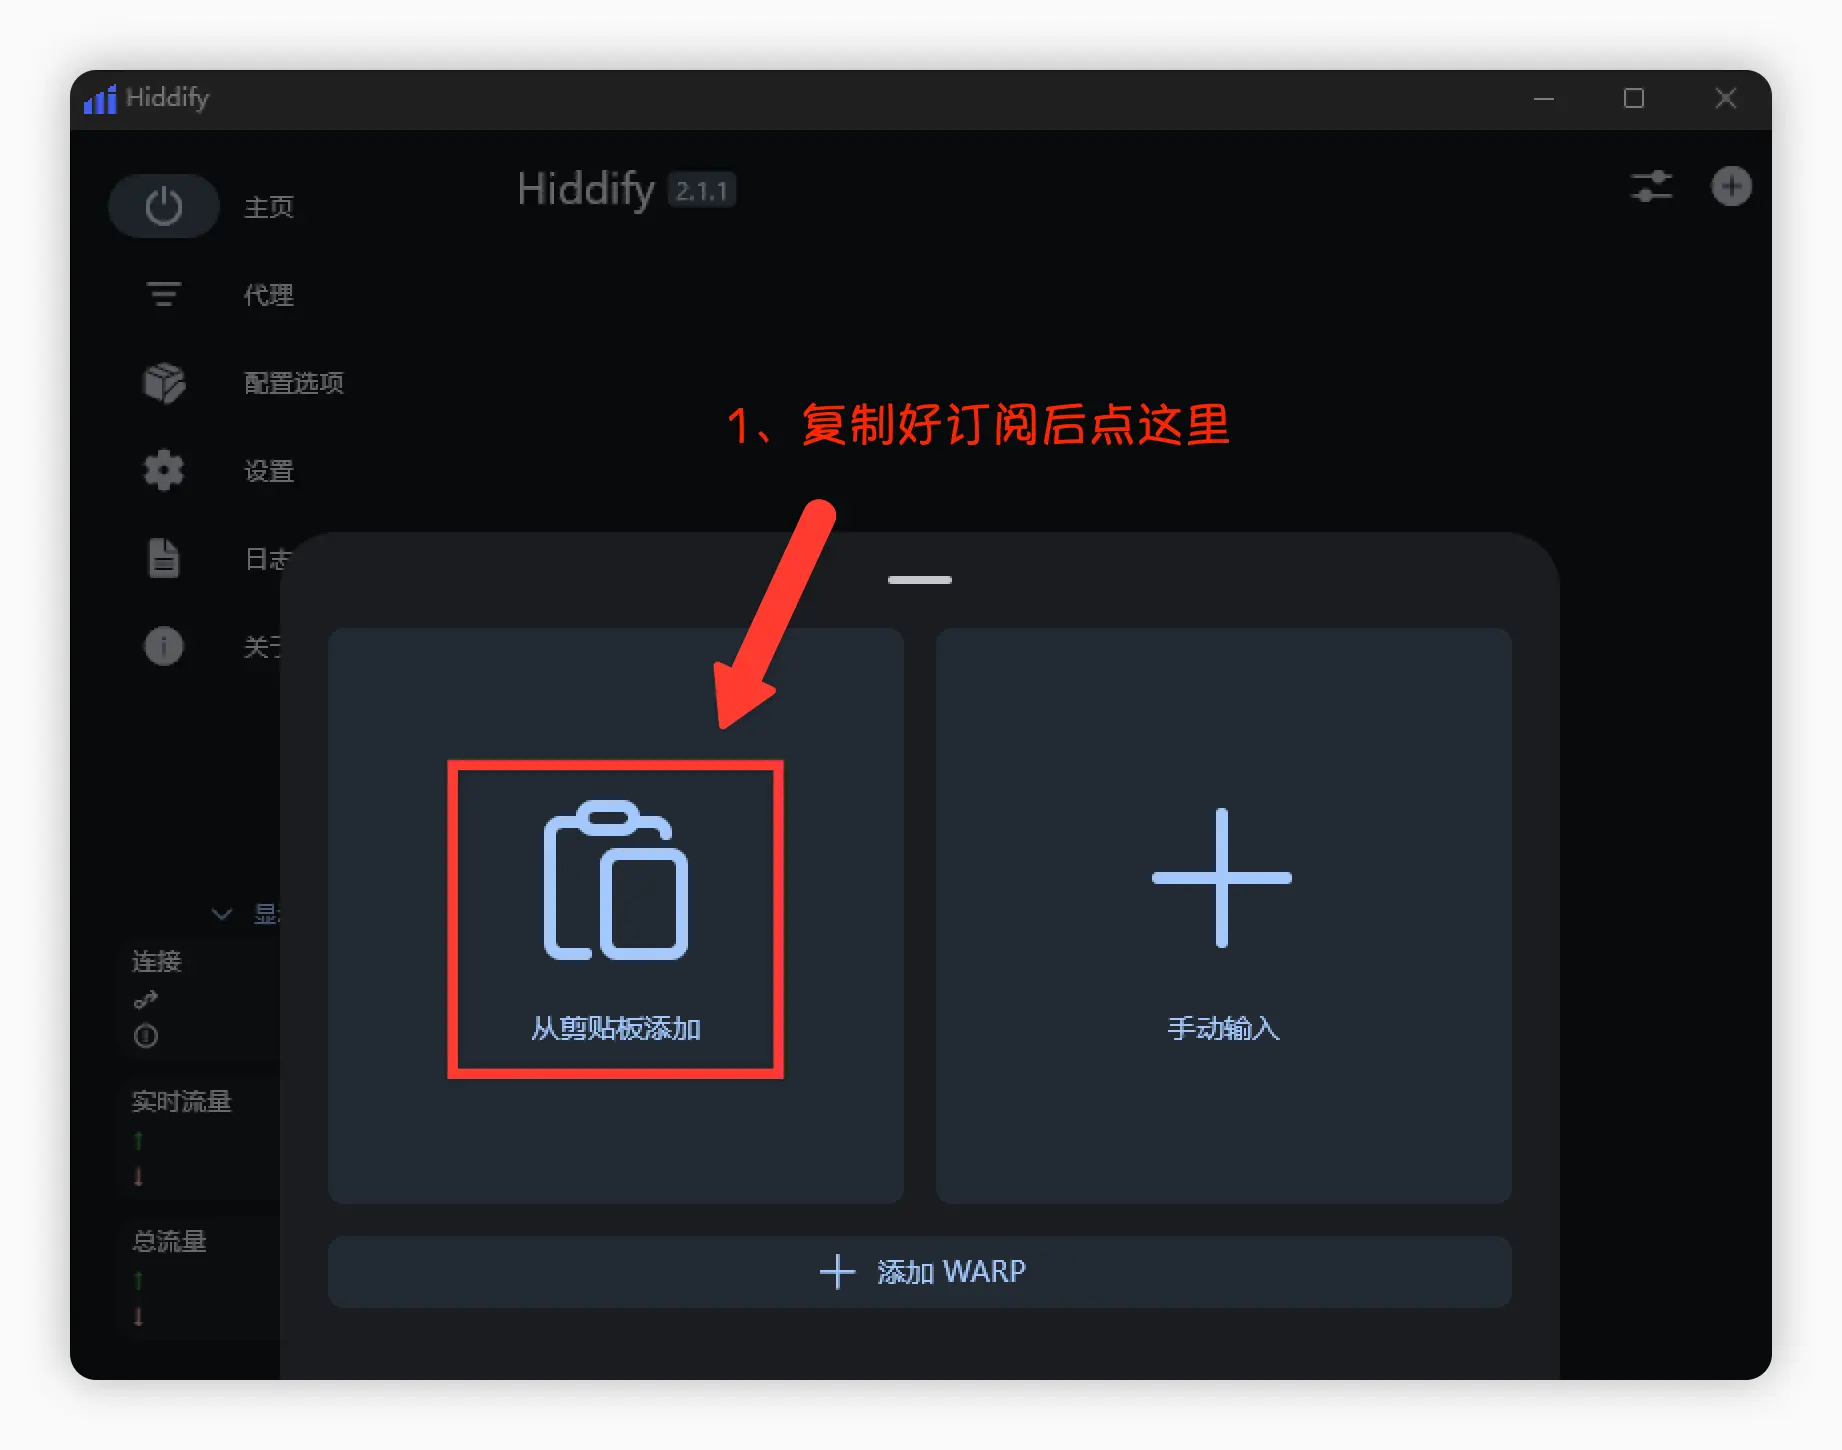
- Paste the how-choose-service address
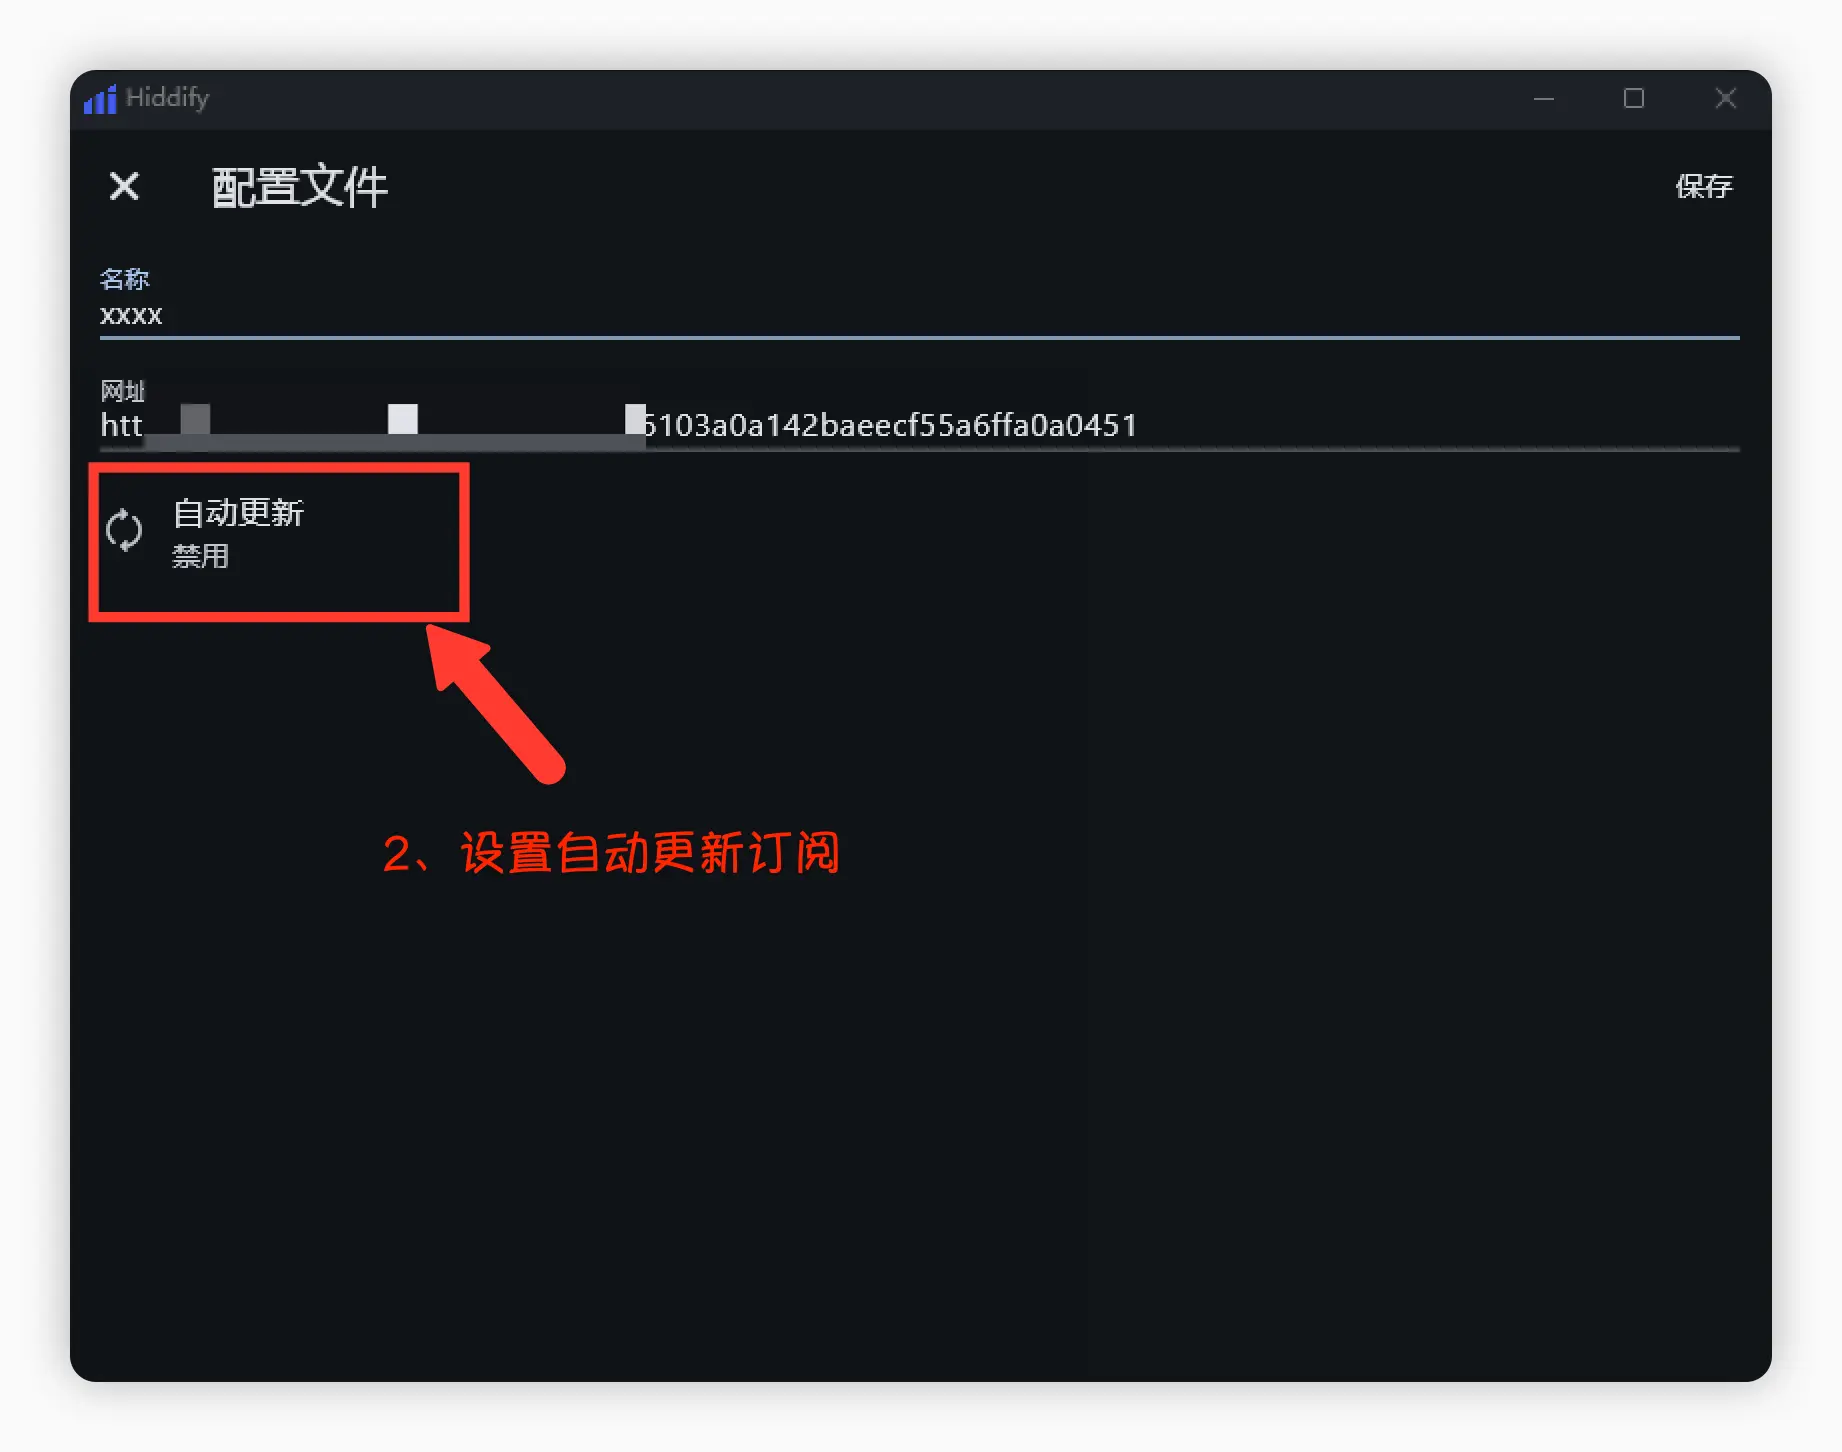
- Set up auto-update
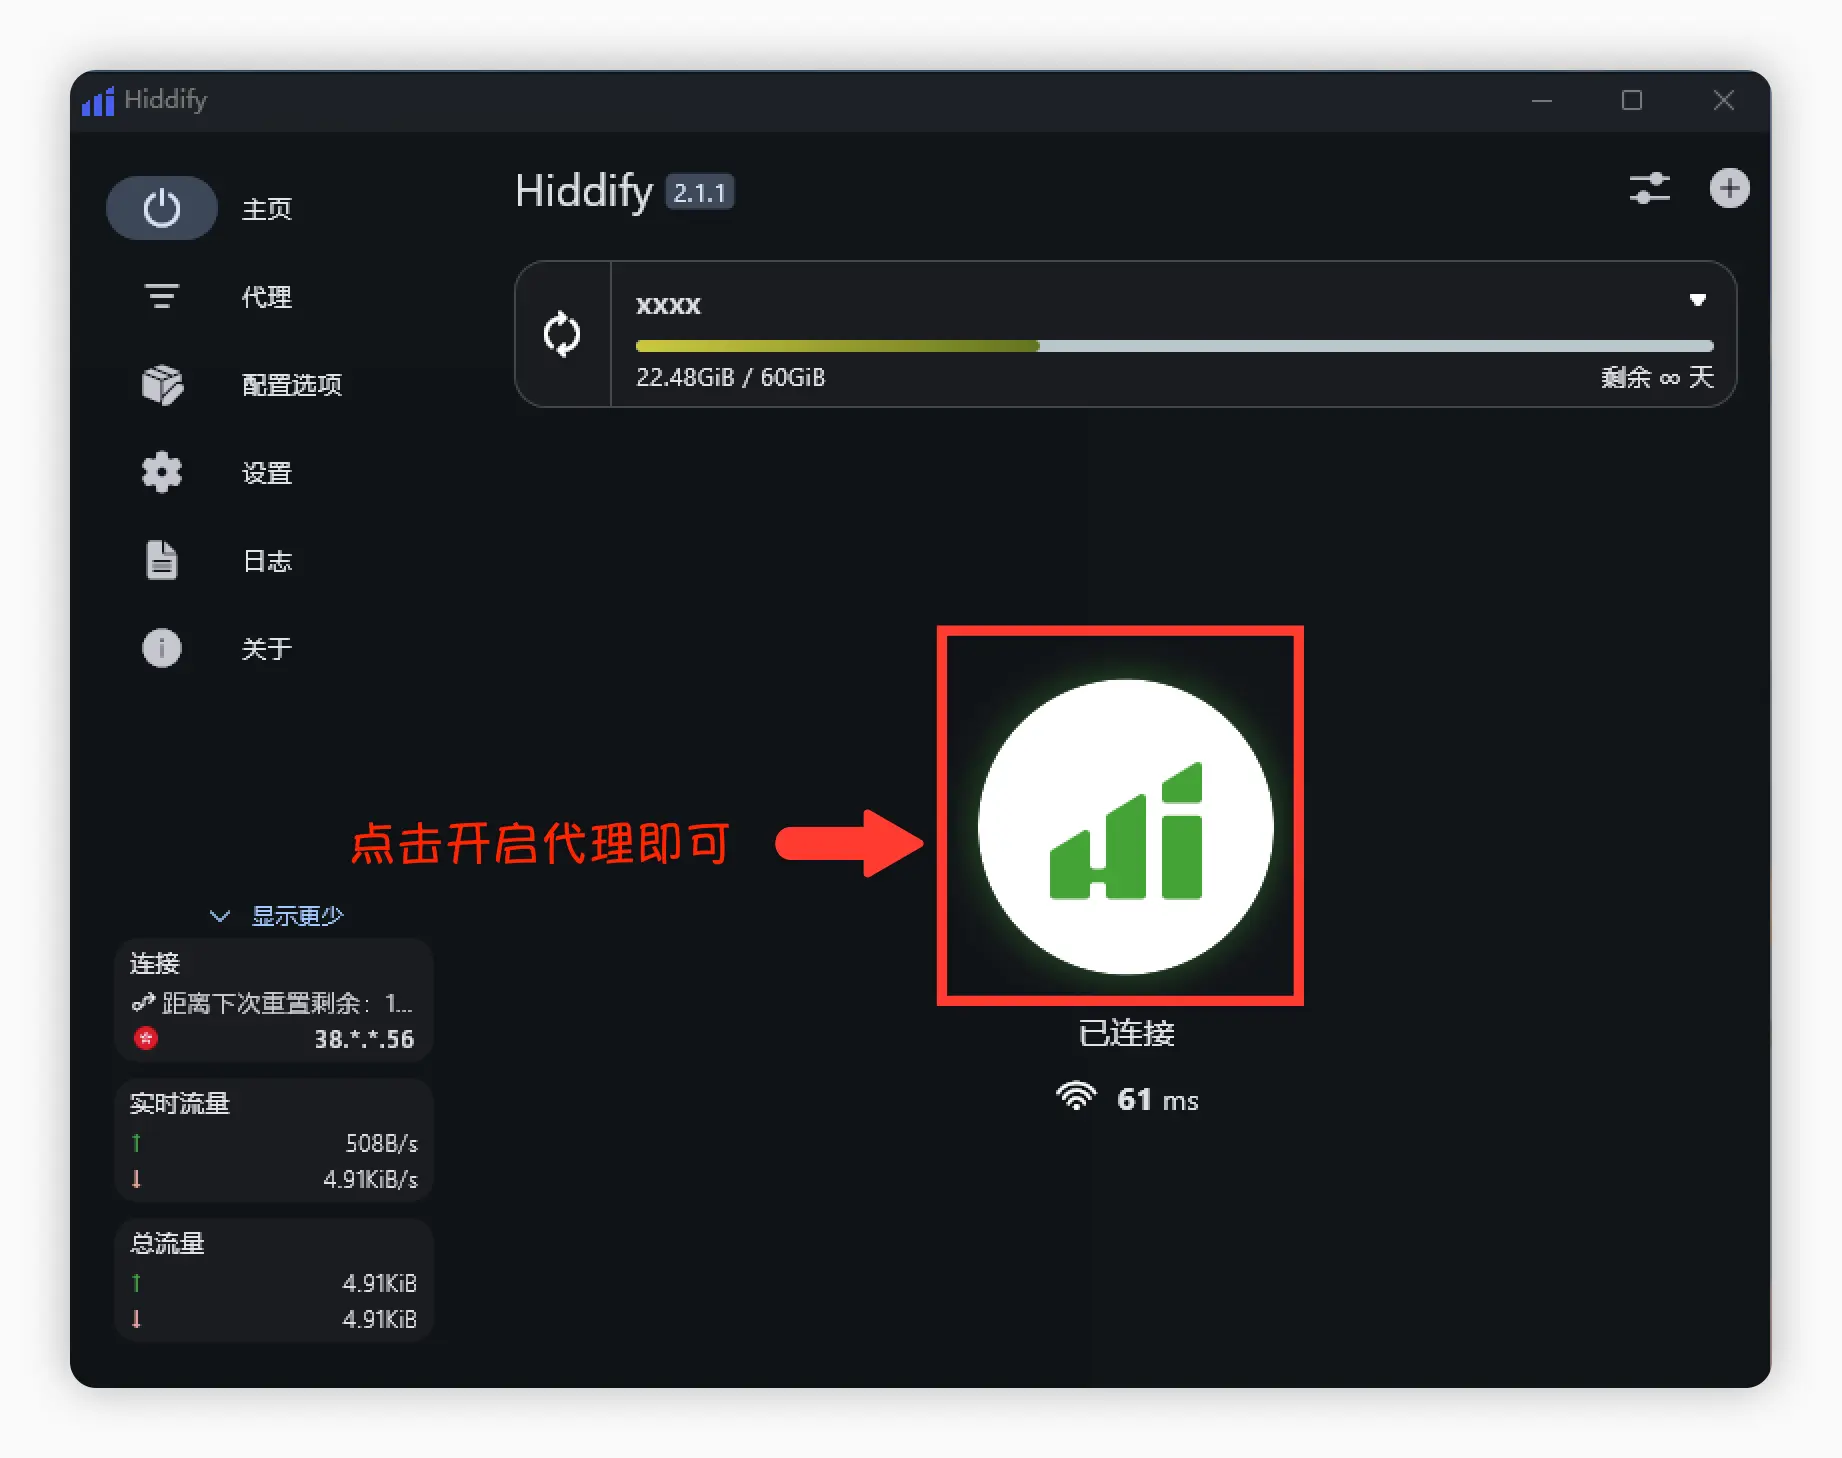
4. Start Proxy
- Enable proxy on the main interface
Advanced Guide
Enable TUN Mode
It is recommended to read "What is TUN mode?" before enabling.
- Usually enabled in Hiddify under "Settings → Network/Advanced/Core".
- If prompted to install/grant permissions, follow the instructions.
- If you encounter driver/port conflicts, try restarting or closing other proxy tools and retry.
Enable IPv6
See "How to enable IPv6". If you encounter abnormal resolution or connectivity issues after enabling, temporarily disable IPv6 or use it only for specific rules as needed.